Starlink Wi-Fi Booster & Mesh Guide: Official Nodes vs. Third-Party Extenders (2026)
On this page
While a standard Starlink dish pulls lightning-fast satellite speeds from low-Earth orbit, the stock Wi-Fi router included in your kit often struggles to blanket an entire multi-story home, thick-walled masonry house, or sprawling rural property with reliable signal. If you experience video calls buffering in upstairs bedrooms or total dead zones in your garage or backyard patio, boosting your Starlink Wi-Fi range is the single most effective upgrade you can make.
However, choosing the right Starlink Wi-Fi booster or mesh system requires understanding your hardware generation, square footage, and property layout. This comprehensive 2026 guide compares official Starlink mesh nodes against high-performance third-party Wi-Fi 6/7 mesh systems and long-range wireless bridges for outbuildings.
Official Starlink Mesh Nodes: Gen 2 vs. Gen 3 Capabilities
This post may contain affiliate links. See our disclaimer to learn more.
SpaceX offers official plug-and-play mesh nodes designed to pair seamlessly with your primary Starlink router through the Starlink mobile app. The capabilities of these nodes vary significantly depending on which router generation you own:
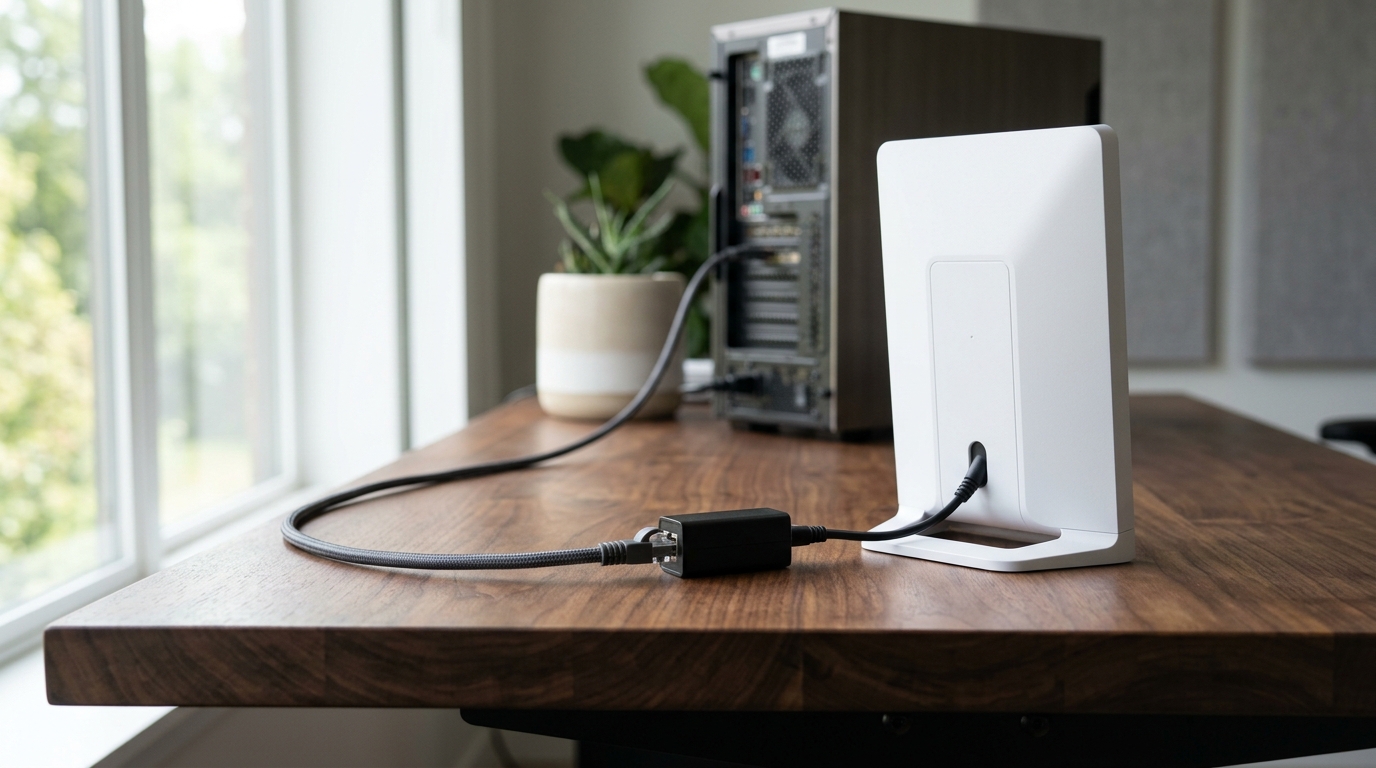
- Starlink Gen 2 Mesh Nodes (Wi-Fi 5 / 802.11ac): Designed for the Gen 2 rectangular dish router. Each node covers up to 1,500 square feet (140 m²) using dual-band 3x3 MIMO. Note that Gen 2 nodes lack built-in Ethernet ports; creating a wired backhaul requires purchasing the separate Starlink Ethernet Adapter for each node.
- Starlink Gen 3 Mesh Nodes (Wi-Fi 6 / 802.11ax): Built for the latest Gen 3 kickstand router. Each node features tri-band radios covering up to 2,000 square feet (185 m²) with modern Wi-Fi 6 802.11ax technology. Crucially, Gen 3 mesh routers include two built-in gigabit Ethernet ports, enabling high-speed wired backhaul out of the box.
| Extension Method | Coverage Range | Max Throughput | Ethernet Ports | Best For | Approx. Cost (USD) |
|---|---|---|---|---|---|
| Official Starlink Gen 2 Node | 1,500 sq ft / node | 200-400 Mbps | 0 (Requires adapter) | Small/Medium Gen 2 homes | $130 / node |
| Official Starlink Gen 3 Node | 2,000 sq ft / node | 500-800 Mbps | 2 Gigabit LAN | Medium/Large Gen 3 homes | $150 / node |
| Third-Party Wi-Fi 6 Mesh (Eero / Deco) | 3,000 - 6,000 sq ft | 800-1,200 Mbps | 2-4 Multi-Gig LAN | Large multi-story homes, gaming | $180 - $350 (2-3 pack) |
| Point-to-Point (PtP) Wireless Bridge | 500 ft to 5 miles | 300-450 Mbps | 1 PoE LAN per dish | Detached barns, shops, guest cabins | $120 - $220 (Pair) |
How to Set Up an Official Starlink Mesh Node
Adding an official Starlink mesh node takes less than five minutes:
- Step 1: Position the Node Correctly. Place the mesh node approximately 1 to 2 rooms (about 30 to 40 feet / 10 meters) away from your primary router, in direct line-of-sight if possible. Avoid placing nodes inside metal utility closets or behind heavy concrete walls.
- Step 2: Plug Into AC Power. Connect the mesh node to a standard wall outlet. Wait 60 to 90 seconds until the white LED light pulses.
- Step 3: Pair via the Starlink App. Open the Starlink app on your phone. A banner will appear stating PAIR MESH NODE. Tap PAIR, and the system will automatically configure network credentials and synchronize security settings.
- Step 4: Check Connection Quality. Under the app Network tab, inspect the signal rating between nodes. It should display Great or Good. If it shows Poor, move the node closer to the main router.
Why Third-Party Mesh Systems (Bypass Mode) Often Perform Better
While official Starlink mesh nodes offer one-tap setup, power users and owners of homes larger than 3,000 square feet often achieve superior speed and lower latency by using dedicated third-party mesh systems (such as TP-Link Deco XE75, Eero Pro 6E, or ASUS ZenWiFi).
Third-party systems provide several major advantages:
- Bypass Mode (Bridge Mode): By enabling Bypass Mode in your Starlink app, you disable the basic built-in router and hand full routing authority to your third-party system. Learn how to configure this safely in our Starlink Router Settings and Bypass Guide.
- Dedicated Wireless Backhaul Channels: High-end tri-band and quad-band mesh systems reserve an entire 5 GHz or 6 GHz frequency band exclusively for communication between nodes, eliminating the 50% speed penalty common to standard dual-band repeaters.
- Advanced Network Controls: Gain access to Quality of Service (QoS) traffic prioritization, custom DNS routing, guest networks, and granular parental controls that Starlink's native app does not offer.
If you own a Gen 2 system, you will need the Starlink Ethernet Adapter to connect the third-party master node to your dish.
How to Extend Starlink Wi-Fi to a Barn, Workshop, or Outbuilding
Standard Wi-Fi boosters cannot transmit signals through outdoor air, dense foliage, and metal pole-barn siding over distances greater than 100 feet. If you need to send Starlink internet to a detached workshop, RV garage, or guest house, you have two proven solutions:
Method 1: Direct-Burial Shielded Cat6 or Fiber Optic Line (Best Reliability)
Trench a 3/4-inch PVC conduit and pull direct-burial shielded Cat6 cable (up to 328 ft / 100m) or pre-terminated outdoor fiber optic line (for distances over 300 ft). Connect a local access point or switch inside the outbuilding.
Method 2: Point-to-Point (PtP) Wireless AirBridge (Best for Long Distance)
Mount a pre-configured 5 GHz outdoor wireless bridge pair (such as Ubiquiti airMAX NanoStation 5AC Loco or TP-Link Pharos CPE510) on the exterior eaves of both buildings with clear line-of-sight. The bridge creates an invisible wireless gigabit pipe over distances ranging from 300 feet up to several miles. Connect a standard Wi-Fi router inside the outbuilding to broadcast full-speed local internet.
If your network experiences unexpected speed degradation or connection drops after extending, review our Starlink Slow Speed troubleshooting manual or explore the Starlink Hardware Hub for equipment specifications.